Headboard
Background
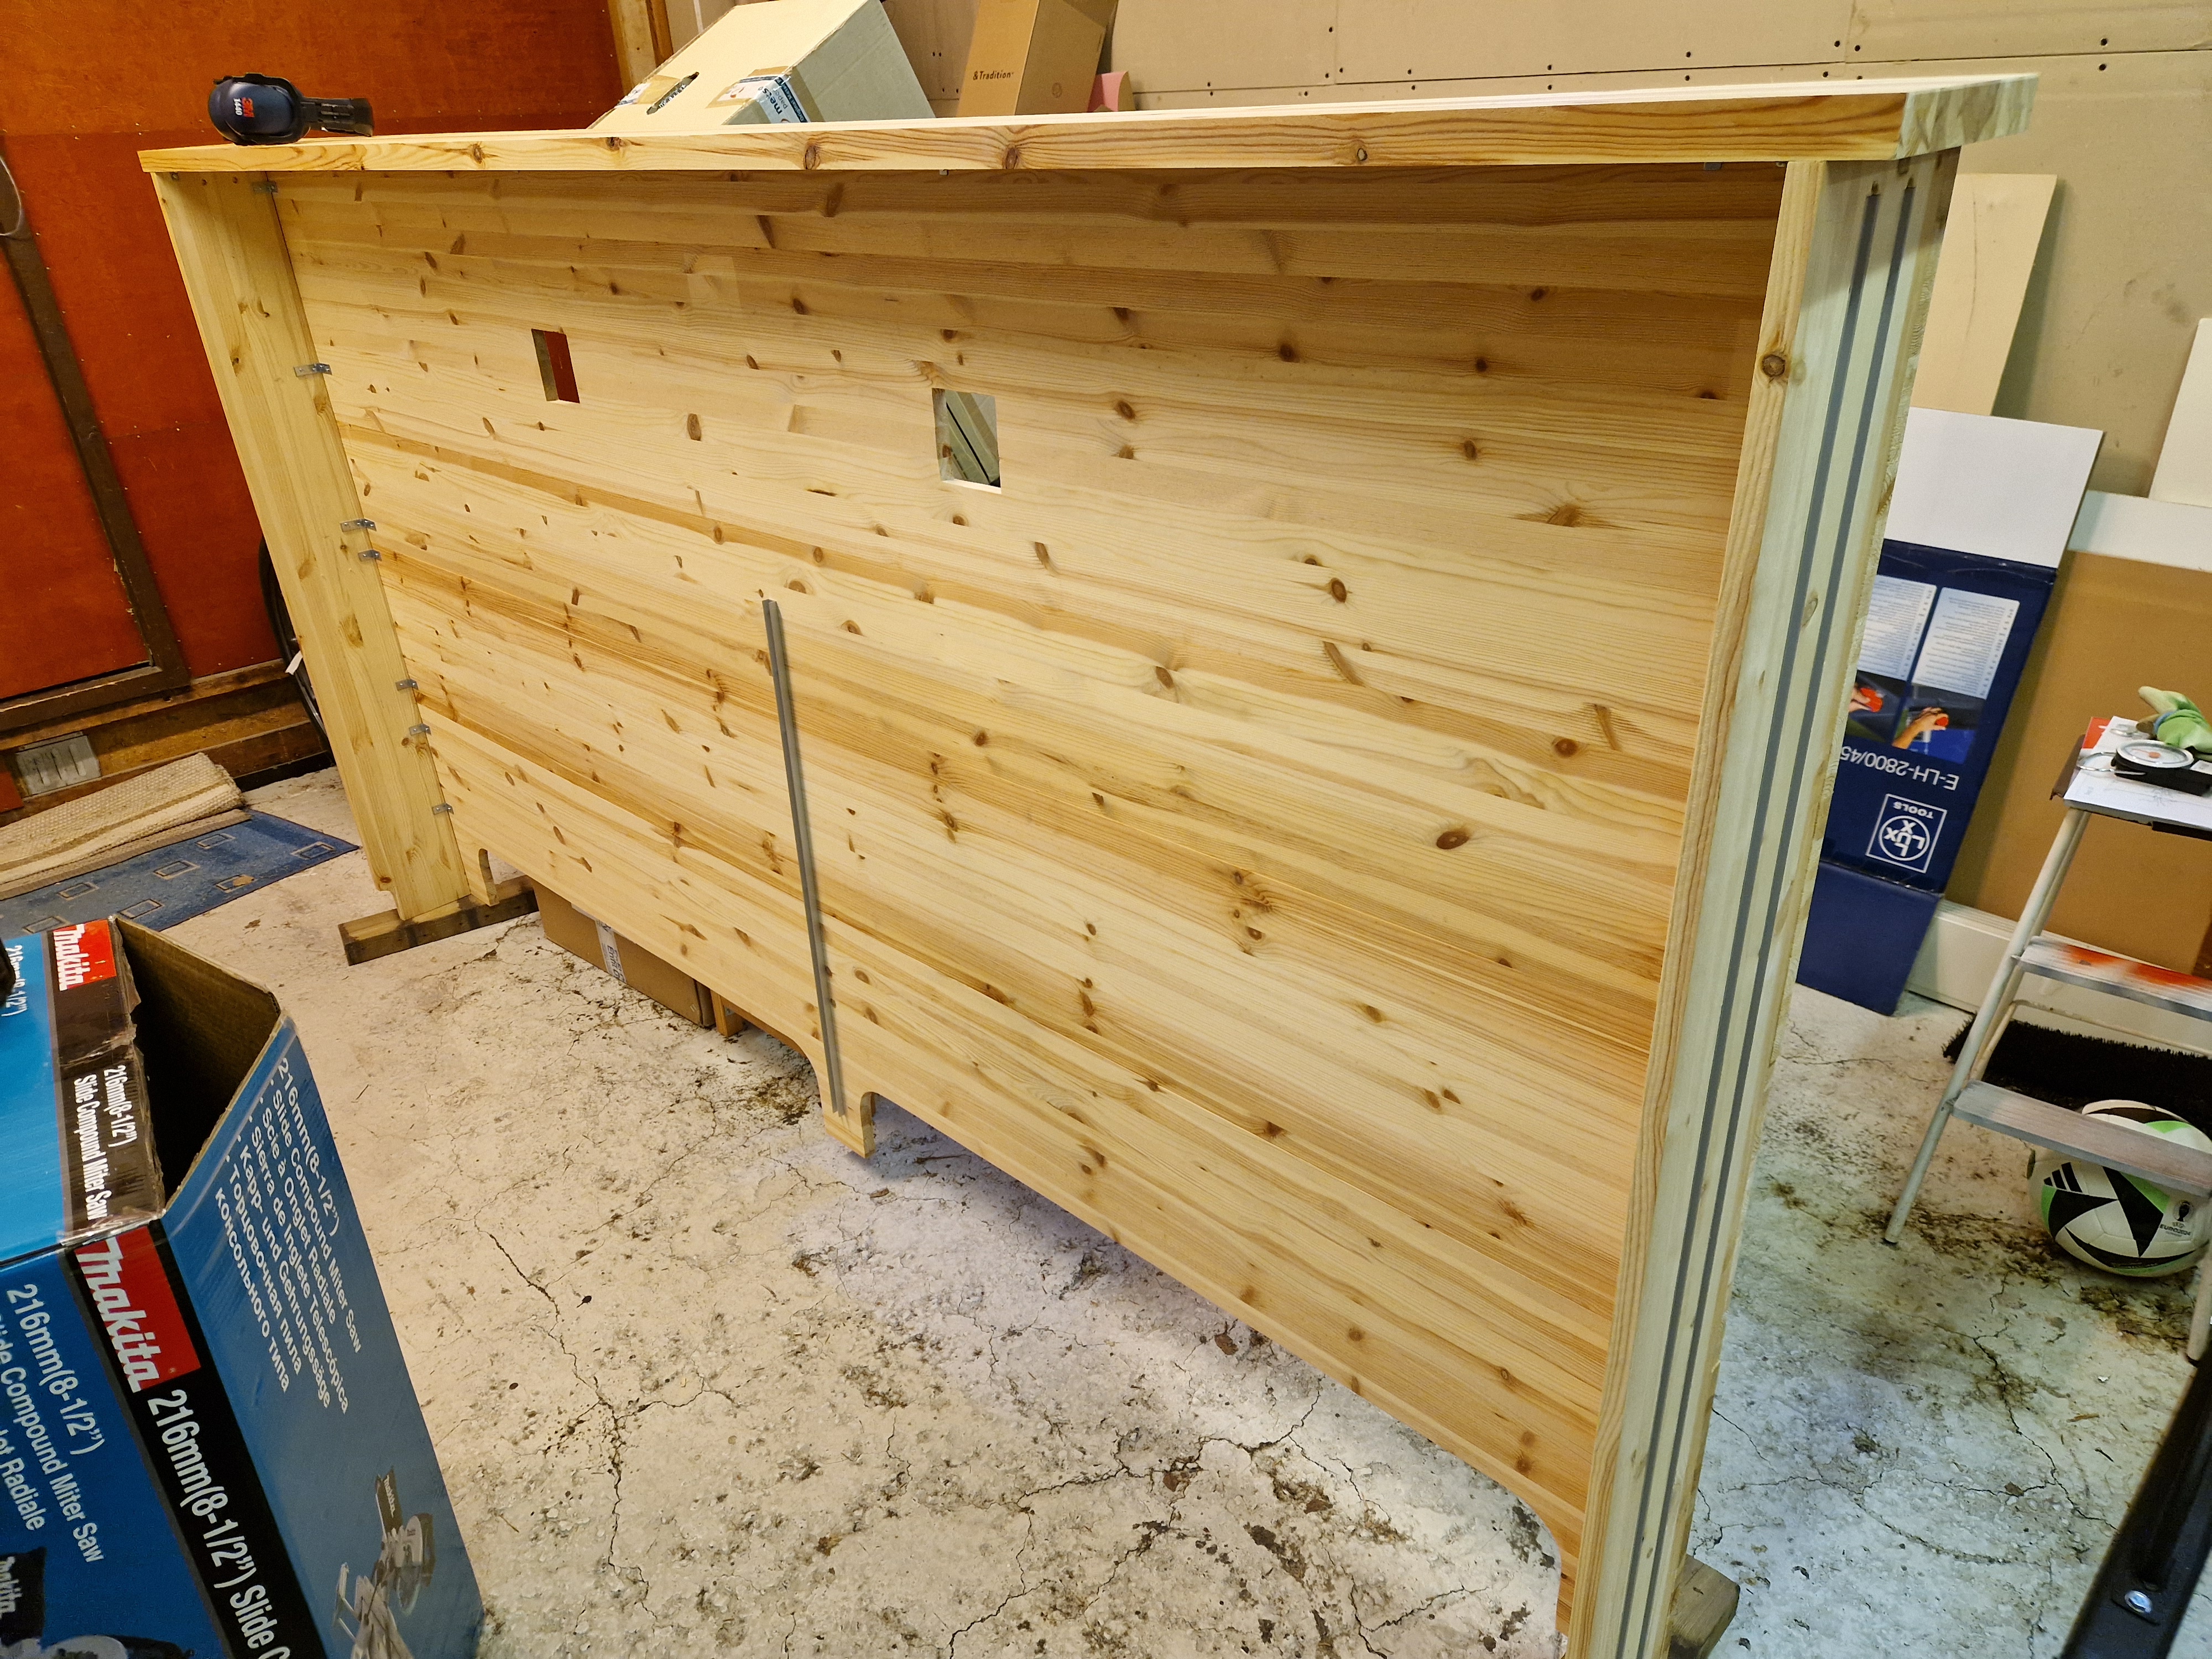
Ever since we moved into this house with my wife we had this idea to make a headboard on our own. That was back in 2016.
First four years we didn't have a proper idea nor vision how it should look like. We had drawn several drafts during those years. And none of them pleased our eyes. Each drawing had something good, though. So, one day I gathered all the good ideas together and drew a new sketch based on those.
My wife accepted the sketch. So, based on the sketch I designed the rest of the details. That was back in 2020.
Just before the pandemic happened we managed to purchase all the needed materials. Although, I had to buy some more later.
I started designing and building the headboard in early 2020. Based on the backlog history I worked on the headboard project 6 months in 2020. Then I slipped away towards other projects. I started working on the headboard again in summer 2026. It took me 4 months to finish the project. During that time period I finished also a Wooden Solitaire. That took me three weeks. So, the whole project took me less than 10 months altogether.
The design
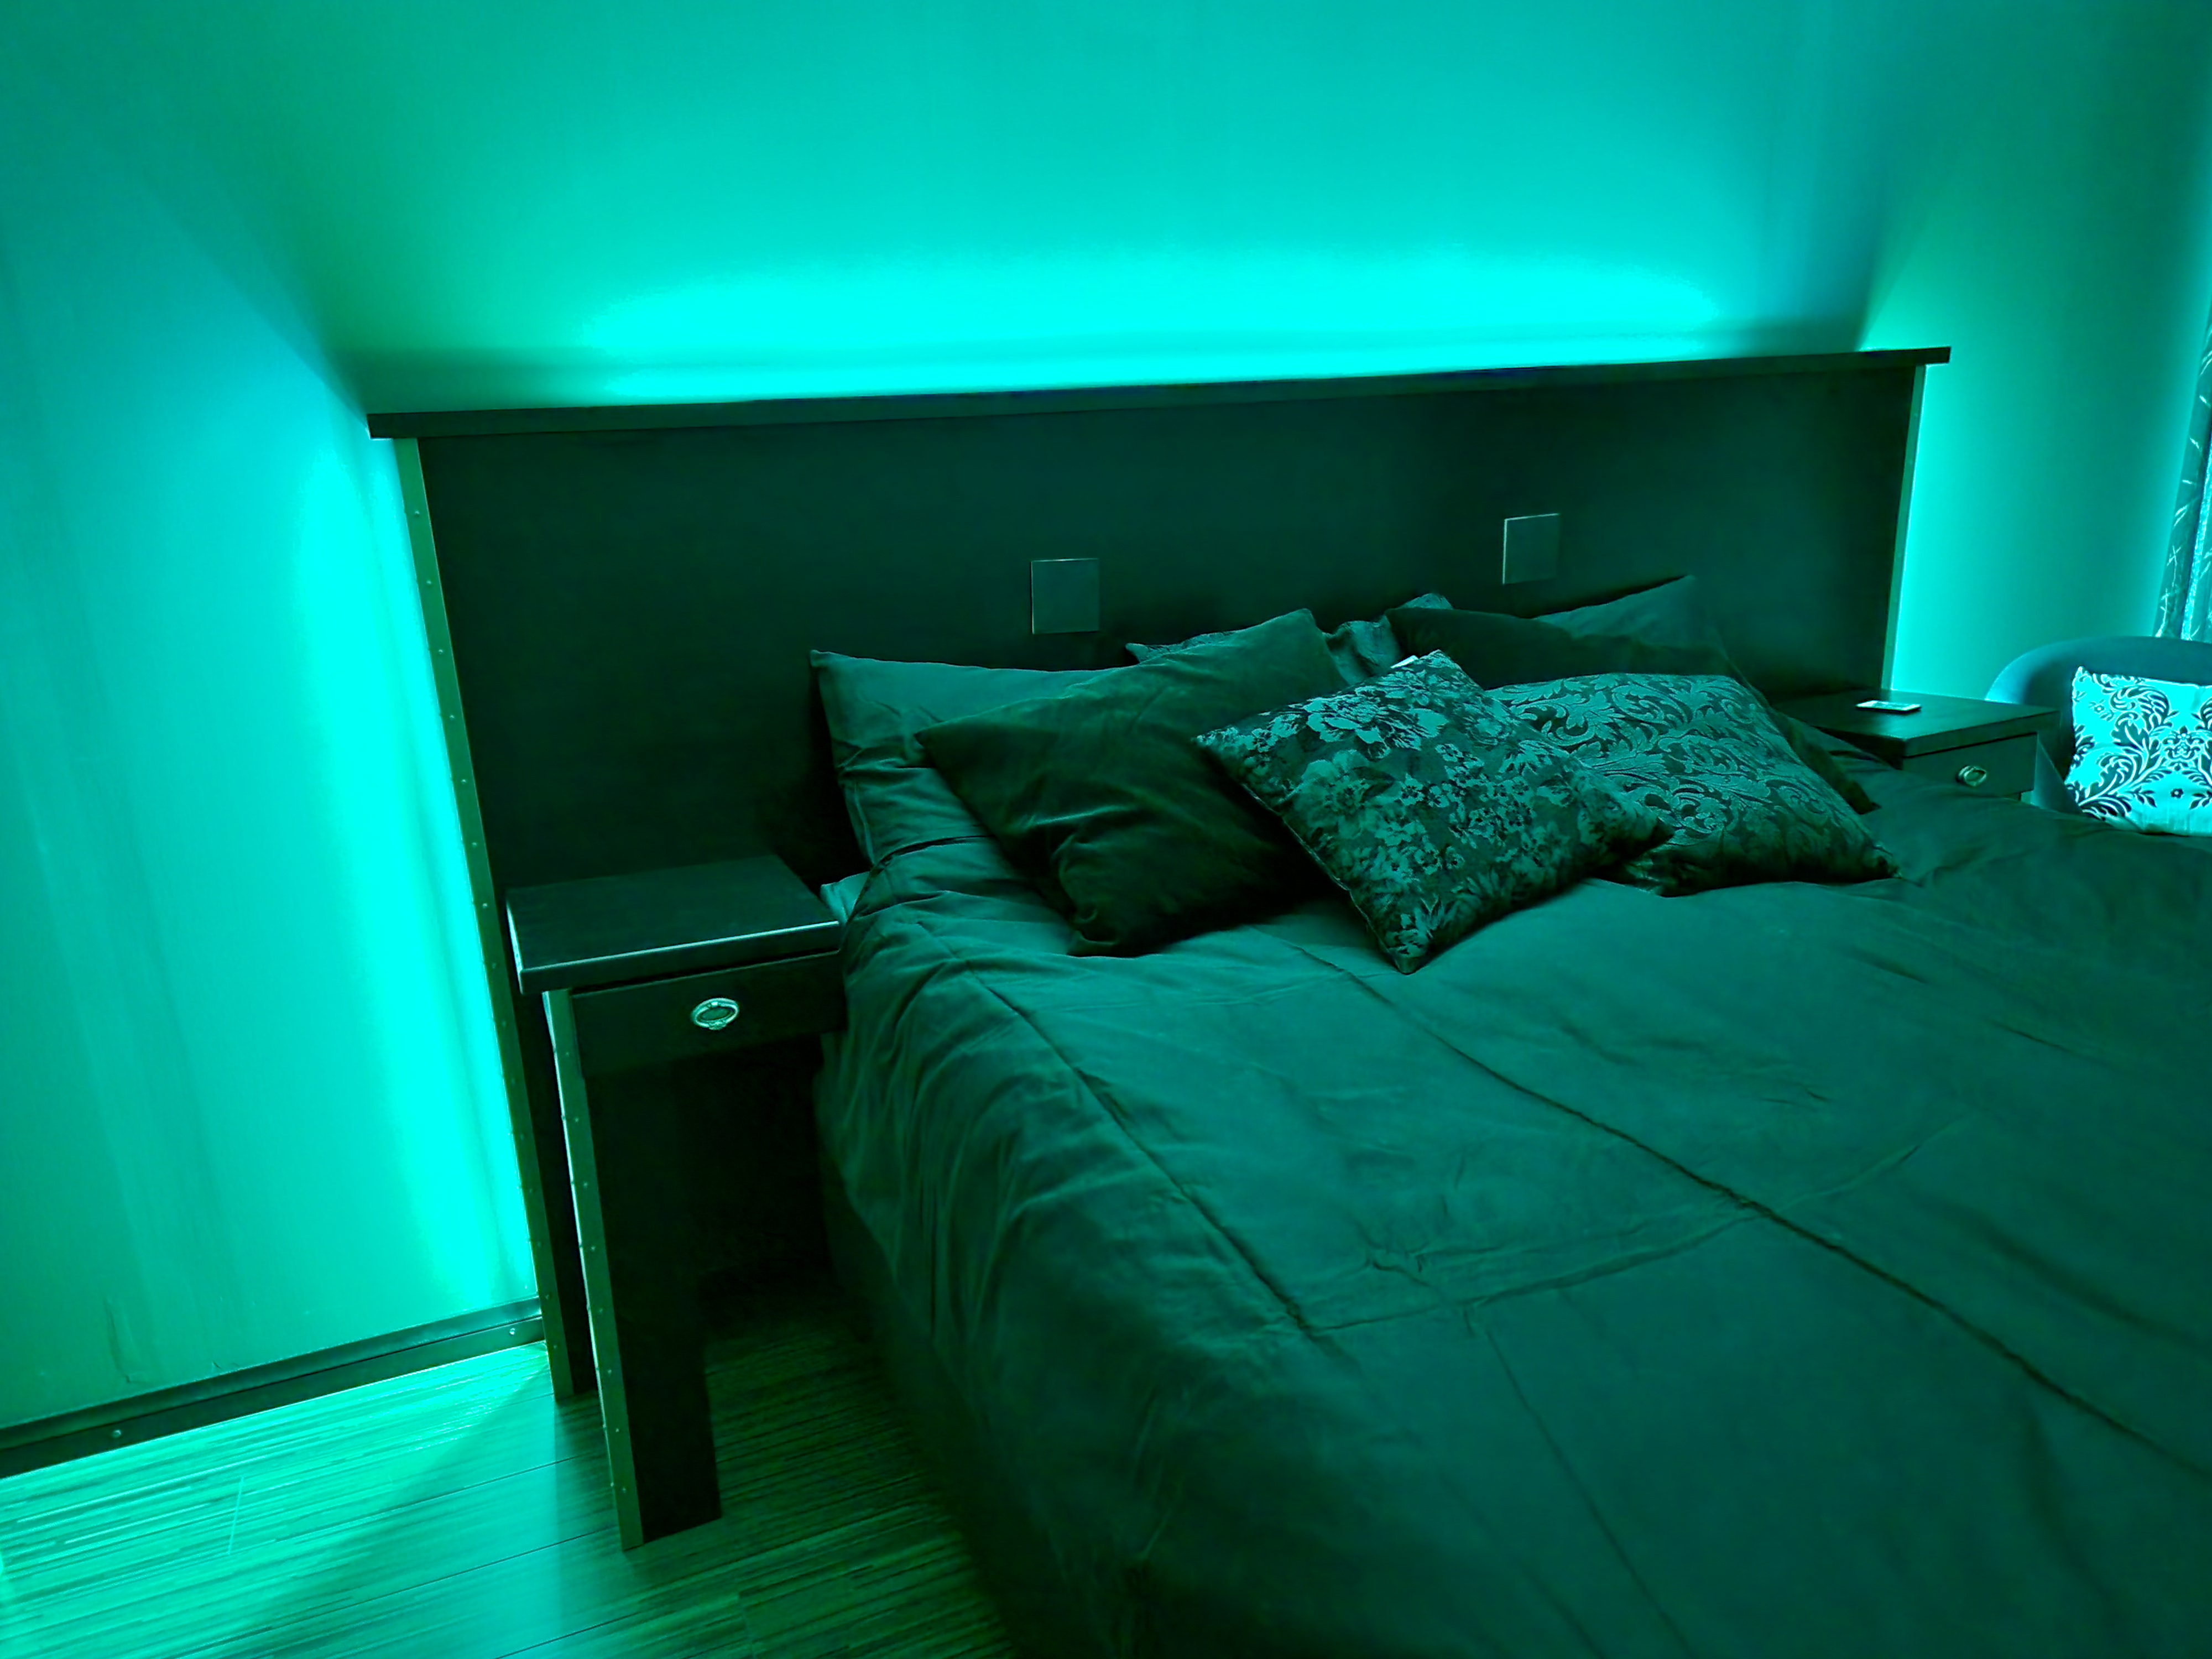
The design follows the style we have elsewhere in our house. For example, you might see some similarities in the Skull table built back in 2016. And maybe in the chandelier modification made back in 2024.
I also designed the electronics for the headboard. The electronic design is so simple that it didn't take me long to come up with a working solution.
There's a very small amount of pieces 3D printed. Some 3D design related to the reading lights is borrowed from a Desk Control Panel. The rest is a new design specifically for this project.
Usage
There's two paraller lighting systems in the headboard. One is just an RGB LED stripe with a remote controller. The second one is my own design.
With the RGB LED stripe you can choose from a 12 different colors. Or 13 if you include the white light. There's also 4 different programs to choose from for the RGB LED stripe.
There's three white LED stripes you can turn on. There's one on the headboard and two on the sides. In addition, there's also two reading lights. One for me and one for my wife. All of these can be turned on and off from both side tables.
The reading lights have a hatch for both lights. The hatch opens when you turn the light on. And closes when you turn the light off.
On the side tables there's also drawers. They are just a regular drawers. Nothing fancy there.
The project
I made several mistakes during the project. One of those happened when I was sawing an aluminium profile for the LED stripes. I just simply cut too much. And I had to buy more aluminium profile.
One mistake happened while using a router to cut out some material from the wood for the LED stripes. I simply took too much material off at once. The router bit overheated. As a consequence of that the bit looks a bit burned now. It can be used still, though.
I might have made one mistake with a material selection. The reading lights might be too weak because of the 3D printed plastic. The 3D printed parts feel a bit too fragile for the job. But only time will tell if they last or not.
End result
I'm happy with the end result. It turned out at least as cool as I expected if not even better. All the black painted surfaces are stunning in my mind and all the lights work perfectly. And what's more important they are not too bright as I was afraid. So, in overall it turned out to be pretty convincing and I'm glad and maybe even a bit proud I made this.
There's a short video below showing the functionalities of the headboard.